Top 9 Ideas To Build A Cheap DIY Projector Screen – Easy Steps
If you are a technical guy with basic knowledge of DIY setups then you donít need to spend lots of dollars on expensive readymade screens, you can make a DIY projector screen with minimum expenses.
Though most of the DIY screens will not provide you top-notch picture quality, still it will allow you to set up according to your tastes within a mid-range price tag.
So without further ado letís explore our 9 Ideas to make your DIY projector screen.
Top 9 Ideas To Build Your DIY Projector Screen
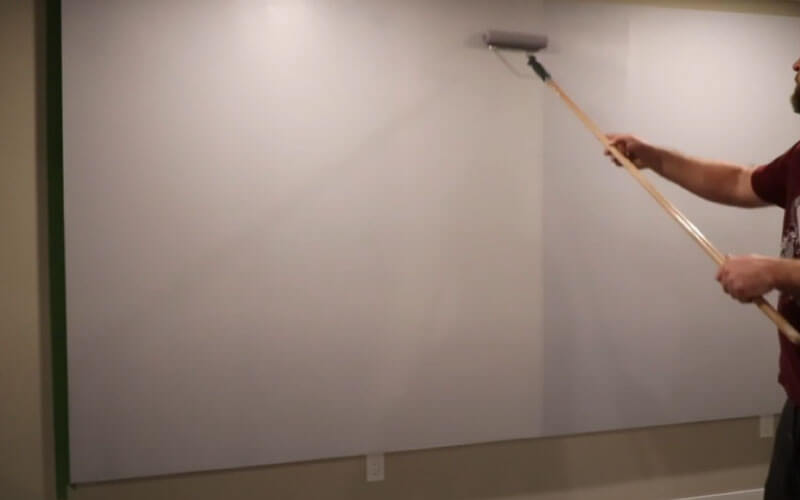
1 Blank Wall:
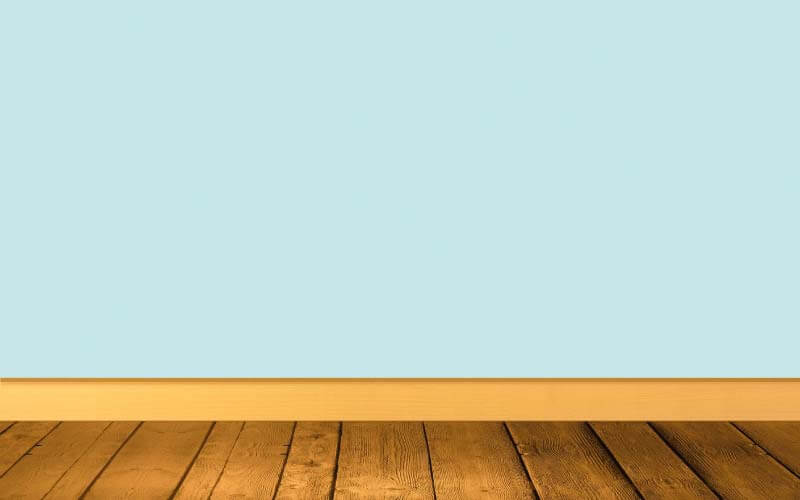
A bare wall is a cheap alternative to expensive screens, but keep in mind you will not get more than average picture quality in terms of brightness, sharpness, colors, and blacks. I have tried my Epson 5050ub on a bare wall here is what I found.
Though 5050ub is a 4k Home theater projector still I feel low sharpness even on a medium screen. Other than that I found some muted colors and brightness issues as well.
If you have a smooth white wall with reflective paint you will get a satisfactory result, otherwise, a bare wall with a texture will completely ruin your visual experience.
Some important things should be considered before using a bare wall:
- Wall should not have irregular texture, texture will create unflatten screen that will provide annoying effects to your eyes.
- A solid white color will work perfectly in a modest ambient and black or gray is perfect for a dark cave, you can use your projector on other colors but you will get laser picture quality.
- Your wall should be clear from photos, keels, and other things.
What We like About Blank Wall
- You will have a large space to enlarge your projector display.
- Cheap option, it doesnít cost you a penny.
What I donít like About Blank Wall
- Average picture quality.
- Low brightness.
- Screen setup may take a long time because it doesnít have a fixed frame
2 Projector Screen Paint:
Screen paints are specifically made for projectorís beam; unlike bare walls, the paint will reflect decent light to project top-notch picture quality like a screen.
Yes, as per our research expensive paints can provide you high-quality display but theyíre equally expensive as screens.
Though paint will cost you the same cost as a screen but you will have the liberty to expand the screen as much as you can, you can create a 200 or even 250 inches screen with 1.5 or 2 gallons of paint.
The flip side of this is only you have to do painting and make a decent canvas. Unlike ordinary paint, this paint needs multilayers to provide impressive results.
Some important things should be considered before using Screen paint:
- Make sure to make a layer of paints otherwise, you may not get desired picture quality.
- Choose white paint if you are going to use it in a modest ambient or your projector has fewer lumens.
- Make sure to keep the remaining paint, don’t throw it because your painted screen may need maintenance due to the accumulated dust and finger spots of your kids.
What We like About Projector Screen Paint
- high-quality display.
- Decent brightness.
- Best for Home theaters
What I donít like About Projector Screen Paint
- Needs ultra care.
- Expensive.
- Not ultra durable.
- Time is taken process.
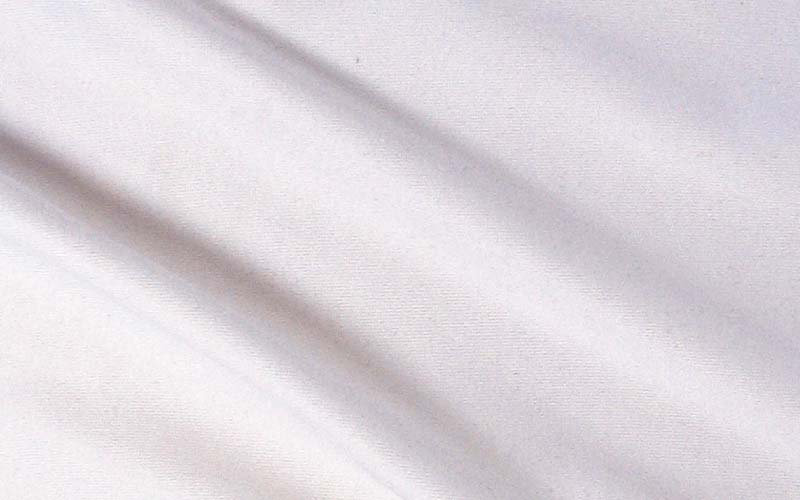
3 A Simple Sheet:
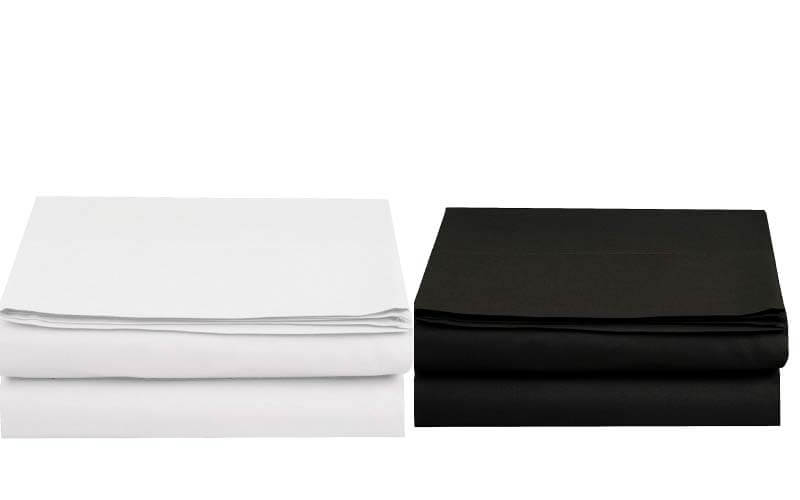
Just like a bare wall, this is the cheapest option to project your projectors beam, we just need a threaded bed sheet to project the display of our projectors.
The process is very simple, just you need to take a long bed sheet, Fold/tread it if it is not that thick, hang it within a canvas and enjoy your serials.
Some important things should be considered before using Sheet:
- The sheet should be thick or threaded, you can make threads by folding it. If your sheet is thin and unfolded the lights will pass through the sheet as a result you will have laser brightness and muted colors.
- The sheet should be unbent and wrinkles, otherwise your visual experience will be ruined.
- The sheet should be plane, patterns and textures will not provide expected results.
- The color of the sheet should be white, gray, or black. White color is best for brightness on the flip side you may not get deeper blacks, however gray or black is not that bright but you will get decent black levels.
What We like About Simple Sheet
- You donít need to spend a penny.
- Portable as the sheet can be carried anywhere.
- Less maintenance just you need to throw it in the washing machine.
What I donít like About Simple Sheet
- Average picture quality. Not so bright and vivid.
- Not easy to set up.
4 Wrapping Paper:
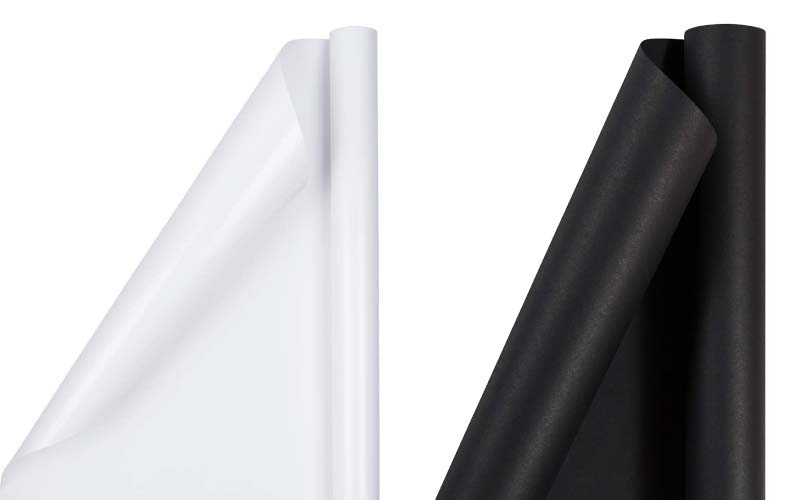
We can use wrapping paper for our projector that is cheap and readily available in the market, just we need a piece of wrapping paper and frame to attach them perfectly. Even you can use a white tap or a glue to attach the paper to the wall if you donít want to frame it.
Some important things should be considered before using wrapping paper:
- Wrapping paper should be thick and durable, otherwise light penetrates from it.
- It should be clean, dull paper may not perform well.
- Matte finish paper will perform well in a darker environment, however, glossy/shiny paper may work fine in modest ambient.
- Keep away from water, water will ruin the wrapping paper in instant.
What We like About Wrapping Paper
- Cheap and radially available.
- Easy to set up.
What I donít like About Wrapping Paper
- Canít work outdoor, as wrapping paper is extremely fragile; wind and rain can easily damage it.
5 Roller Shades:
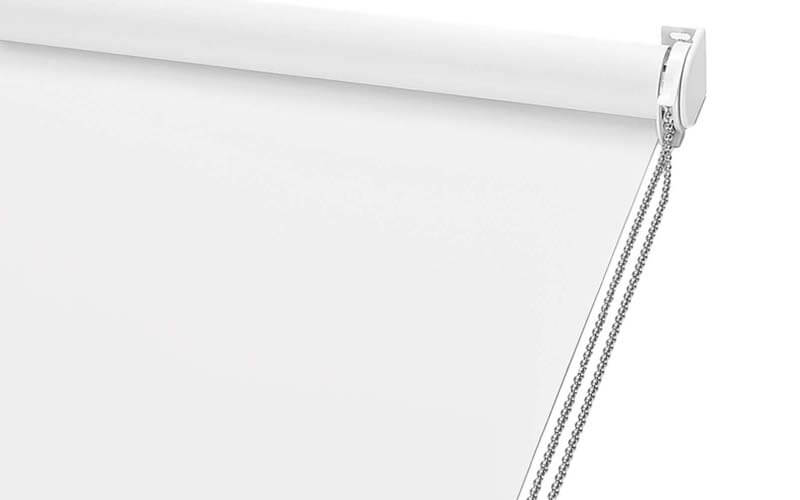
A roller shad will not only cover your window but also will allow you to protect your projectorís display. Though the picture quality will not be top-notch but it will be more than average if you have a proper setup.
I suggest you cover your window shade with a blackout cloth, this will not only protect your privacy but also will help the projector to provide an enhanced display.
Some important things should be considered before using wrapping paper:
- Your window shad should be flat a wavy structure will not provide you best results.
- The roller should be at least 2 to 3 inches large so that light canít be transfer to your room
- Additionally, cover your roller shade with a blackout cloth this will double the performance but it is optional.
What We like About Roller Shades
- Solve multiple purposes.
- More than average picture quality.
What I donít like About Roller Shades
- Expensive, you have to spend more bucks if you are going to purchase a big roller shade.
6 Curtains/ Blackout Cloths:
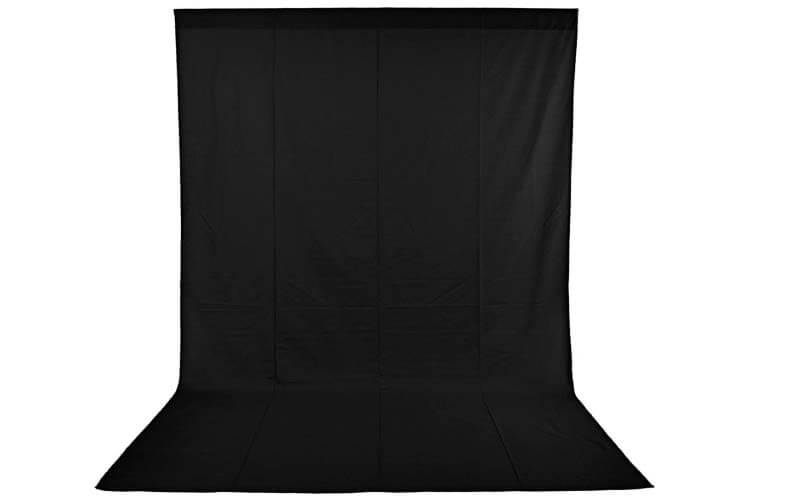
Thick curtains or blackout cloths will work like a charm because they are sturdy and thick with foam-type back, the lights of projectors will reflect properly rather than penetrating.
Other than that they are cheap and cost-effective, you just need to hang or frame them properly.
Some important things should be considered before using a curtain or blackout cloth:
- Your curtain or blackout cloth should be thick and reflective.
- Projectorís beam should be projected to the smooth side.
- If you have a cloth with average thickness, make two threads to trap lights properly.
- Make sure to straighten the wrinkles sand waves from the cloth. You can do that by pulling the cloth properly in the frame.
What We like About Curtains/ Blackout Cloths
- Inexpensive.
- More than average quality
What I donít like About Curtains/ Blackout Cloths
- Donít expect mind-blowing quality.
Check out our guide on black vs white projector screens, and gray vs white projector screens for the better understanding.
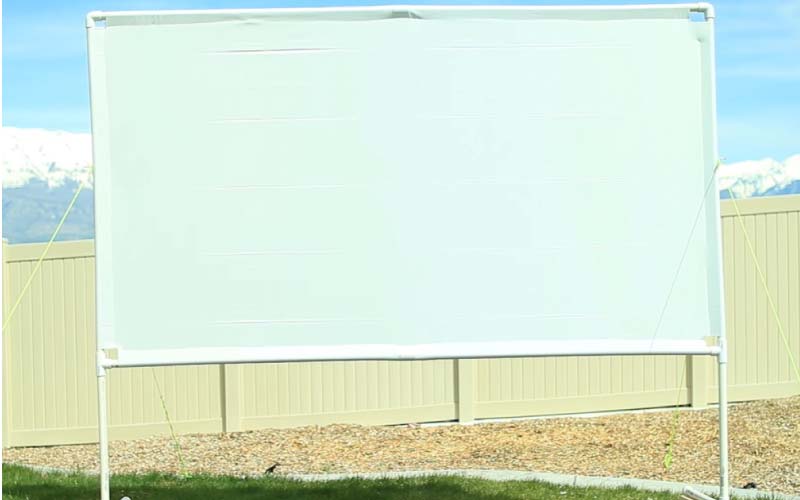
7 Large Vinyl Tarps (Billboard Traps):

Billboard traps offer a big white space, you can easily project the display of your projectors, and also they are sturdy and thick to keep reflect your lights, however, their surface is somehow shinnying you may not get satisfactory results in outdoor conditions.
Some important things should be considered before using a curtain or blackout cloth:
- Try to get a smooth surface though they mostly come in uneven surfaces still you have to explore a few options.
- Keep it waves and bend free.
What We like About Large Vinyl Tarps (Billboard Traps)
- Not too expensive.
What I donít like About Large Vinyl Tarps (Billboard Traps)
- Not more than average picture quality.
- Hard to find a smooth surfaced.
- Not too easy to install.
8 The Backside of The Photos:
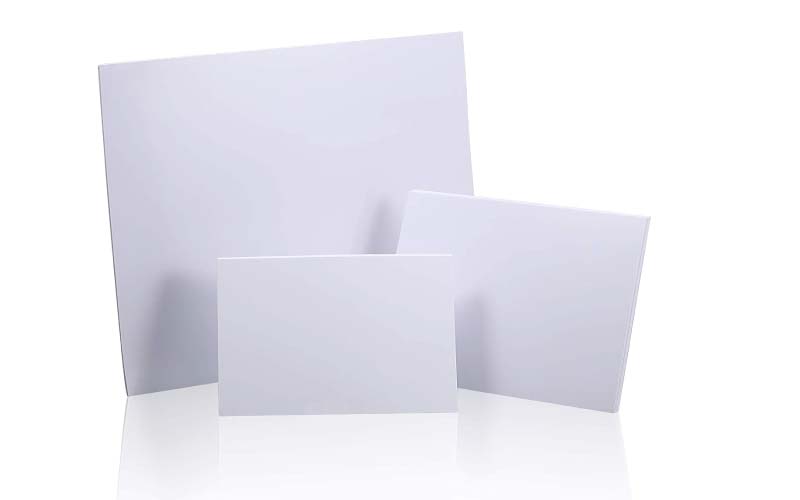
The backsides of photos are reflecting and thick with desired white color, you can use that as your projectorís screen. The process is very simple you just need to get a big photo paper from a local photographer and frame or hang it at your ideal place. Also, you can make it portable by rolling it gently.
One of my buddies is using a photo backdrop portably, he just rolls up it gently and take it to the camping and backyard parties.
Some important things should be considered before using a curtain or blackout cloth:
- The backdrop of photo paper should be not ultra-shiny; reflections of lights may disrupt the picture quality in the daytime.
- It should be thick and durable; also if you want to use it portably, it should not vulnerable to wrinkles and bends.
What We like About Backside of The Photos
- Budget option.
- Allow portability.
- More than average picture quality.
- Very easy to set up.
What I donít like About Backside of The Photos
- Less-durable.
- Canít work in high wind and rain.
9 Trapeze:
Trapeze is a high-quality fabric with 80 to 90% pollster to provide mind-blowing image quality. Trapeze is relatively expensive with features to project rear projection, this is the best DIY projectorís screen material for outdoor. You will never feel muted colors, brightness, etc.
What We like About Trapeze
- High-quality display.
- Rear-projection.
- Can work in outdoor
What I donít like About Trapeze
- Expensive
Advantages And Disadvantages of Making a DIY Projector Screen
- Cheap alternative to expensive screens.
- Customizable as per your taste.
- You can make them portable.
- No labor cost.
- Time is taken process.
- DIY screens are not that durable.
- Lesser picture quality than professional screens.
Checkout the Advantahes and Disadvantages of projectors
How To Make A DIY Projector Screen
You have finalized the material for your DIY projector screen; know your second step is to make a perfect screen.
Here is the step by step guide:
STEP 1: Finalize the size of screen you want.
STEP 2: Build a frame for your screen, take a few pieces of wood and joint them in a rectangular or square shape. The process is very simple just you need a drill and a bunch of screws to join them tightly.
NOTE: Frame is not necessary some people get their work done without a frame.
STEP 3: Cut a piece of screen material and fix it in a frame tightly, make sure to remove every bend, wave and wrinkles.
NOTE: If your Screen material is paint then the scenario will be different you need to prepare paint as per instructions.
STEP 4: Fix it to the wall with a few screws or any other hanging tool. If you are going to use it outdoor you should have a proper setup to hang the screen properly.
Checkout our guide about types of projector screens
Wrapping Up
We have discussed almost every method to make your DIY projector screen; every method is tested and approved by our team. You just need to follow the guide.
Out of all options, you have to find the most feasible one that can support both your indoor and outdoor movie experience.
Here are some expertís recommendations:
Projector screen paint: For those who want the best picture quality, but it will be expensive.
Blackout cloths: Cheap alternative of expensive material with average picture quality.
Trapeze: Best for rear projection.
Frequently Asked Questions-(FAQs)
Q: What is the best material to use for a projector screen?
Blackout cloths, projector paint, and trapeze are the best projector screen material as per our tests.
Q: Can you use a bedsheet for a projector screen?
Yes, but it should be free from bends, waves, etc. Also, there should’t be textures and different colors on the sheet.
Q: Can I use a white wall as a projector screen?
Yes, even you can use a gray or black wall as well.
Q: How much should I spend on a DIY projector screen?
Depends on screen material if you are willing to get high-quality paint or trapeze you have to spend more otherwise sheets and other kinds of stuff are very cheap even sometimes you donít have to spend a penny
Q: What is the best color for a projection screen?
Depends on the lumens of the projector and ambient light, white will be best for low lumens, however black or gray will be best for high lumens.
Q: Is blackout cloth good for projector screens?
Yes, blackout clothe is relatively inexpensive and can provide you more than average picture quality
![Laser vs Lamp Projector – [Picture Quality, Lamp Life & Cost Comparison]](https://glintylab.com/wp-content/uploads/2021/06/Laser-vs.-Lamp-Projector-768x402.jpg)
![How To Connect Speakers To Projector? – [Step By Step Guide]](https://glintylab.com/wp-content/uploads/2021/06/How-To-Connect-Speakers-To-Projector-768x402.jpg)