How to Make Projector Picture Clear in 8 Steps? – Fixing Blurry Images
In this article, we have explained how to make projector picture clear in 8 simple steps. Even a non-expert can fix blurry images without spending money on a technician.
How to make Projector Picture Clear
The Projector is a very fine and efficient device that can be used to enlarge your screen results so you can read documents, make presentations to your colleagues, give lectures to your class, or watch a movie at home.
The blurry result of the projector makes frustration to people while doing their work on the projector.
There could be different reasons for blurry pictures coming from a projector because everything requires maintenance and care so you can enjoy the experience of the projector with your family, friends, and colleagues without any frustration.
To get rid of this issue, we will tell you how to make the projector picture clear with some easy steps.
Easy steps to make the projector picture clear
There can be multiple reasons for blurry and unclear pictures coming from the projector, so letís discuss some simple and easy steps for you to follow to get rid of this issue.
1. Focus of the Projector
2. Cleaning Lens of the Projector
3. Clean the lens mirror
4. Perfect placement of the Projector
5. Resolution and Sharpness
6. Small Screen
7. Adjusting Computer Setting
8. Keystone Correction
1. How to make Projector Picture Clear by adjusting the Focus
Not properly focusing on the projector can also be a reason that image is not coming clear from the projector.
You can adjust your projector’s focus by doing the following steps:
- Around your projector’s lens, there is must be a ring, that’s the thing which will help you to make the proper focus of the projector’s lens.
- Turn it clockwise to make proper focus while looking to your screen at the same time to check the focus result.
- Now, adjust your focus with your hand movement until your picture is sharp and clear.
- Now your projector is fully focused with a clear picture.
This is an authentic issue not to worry about it because images can get out of focus usually with very small displacement just like a camera, so you can apply this method to your projector for a properly focused screen.
There can be many different issues that could be resultant in the blurry or unclear picture, but focusing the projector’s lens is the first step to find a solution.
2. Cleaning Lens of the Projector
Cleaning the lens might be a very simple solution to make sure that the picture coming out from Projector is clear.
Before cleaning your lens, turn off your projector to prevent any other issues. You can wipe the dust off the lens by using lens cleaner paper.
If you do not have any lens cleaner paper, then use very soft material cloths which are lint-free, but do not use any other cloth having hard
The surface will cause more scratches on the surface of the lens.
3. Clean the Lens Mirror
The lens on the projector is not the only thing that can be a cause of bad image quality, your projector has mirrors inside with internal components which is the important part of producing the image.
If you feel any dusty image, it is possible that there can be dust on the mirror of your projector’s lens.
To clean this, you will be needed to take the case off which is shown in the mid of the projector’s body most of the time.
It is not as difficult as it seems, you only need the screwdriver and the air duster to clean it.
All the projectors are not the same, so you have to look at the model of the projector before opening it.
Clean the lens mirror carefully and make sure that you do not stick anything inside of the projector because it can leave more particles and cause a bigger problem.
Check out this blog post if you further want to know how to clean a lens.
4. Perfect Placement of the Projector
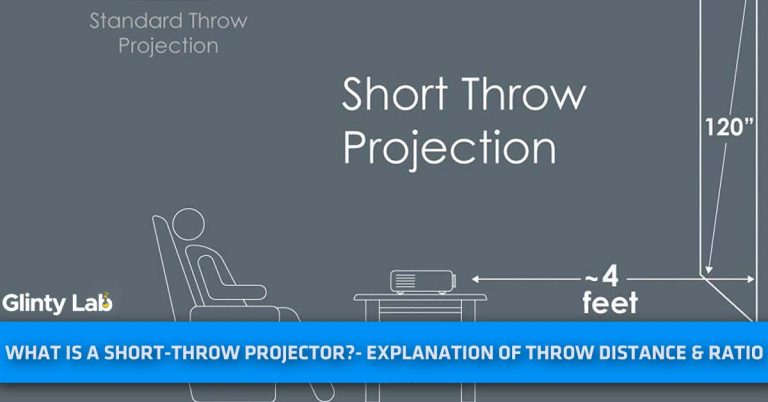
Distance of the projector to its screen also plays the main rine to image result, it can also be a reason that your projector may be putting very blurry image because of the extra distance.
Even it is a short-throw projector, we donít go beyond the recommended throw distance, the image will pixelate.
You will get a larger view by positioning the projector far from the screen but you will also get a blurry result, a lot of people prefer a better display rather than getting the big display.
Try to move your projector forward to set its screen size and focus. After this step, you can alter the resolution and the picture’s focus.
Projectorís throw distance is always the recommended distance between the projector and the screen.
5. Resolution and Sharpness
In the Projector, Sometimes the adjusted resolution could be very low for the given Video or image, this also affects the display of the image.
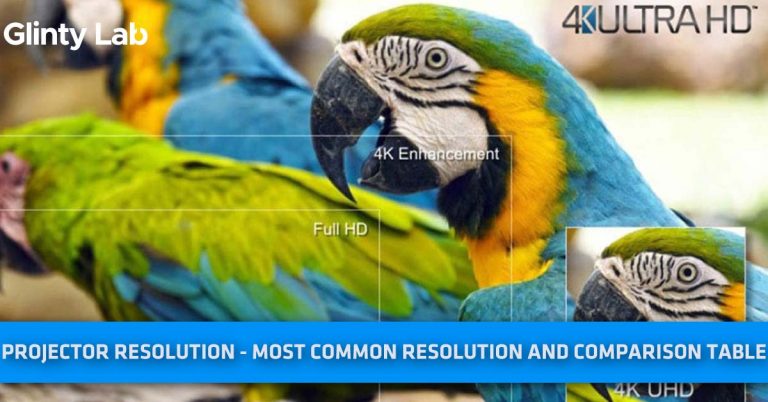
You can adjust the resolution by going to the setting of your attached laptop or PC and selecting video output resolution then change the Resolution to a higher level.
The same thing can happen with sharpness also, you can also adjust the sharpness either in your Laptop or PC or in the setting of your projector.
Both of them will provide you the appropriate display of the picture.
Adjusting the Sharpness of your projector is a more common problem of the new versions of the projectors, and also it can happen with the projectors which are not being used for some time.
Some high-end models have presets which means the settings are stored in their memory.
6. Small screen
We know that people enjoy watching a movie or something on big screens but it can burst the pixels of the video displayed on the screen. So it is far better to keep your screen size smaller.
7. Adjust the frame rates in the computer setting
If you use a Laptop or Computer to watch videos on your projector screen, there can be an issue in your PC setting rather than the projector itself.
While watching a video on the projector, please check the frame rates on your PC or Laptop and your Projector that both frame rates match each other, and the one is not slower than the other.
If there is an image, please have a look at the resolution of both devices and match the resolution of each other.
8.† How to Improve Projector Picture Quality Using Keystone Correction
If your projectors are off-center or not mounted properly, the projection will not be balanced and the result will be a skewed image. One half will be bigger than the other.
This can be tackled if your unit has a digital or manual keystone correction. The blurry image will be completely fine once the keystone has been corrected.
With some expertise, you can perfectly fit the image onto the screen, but if your model doesnít have a huge keystone correction, then try not to mess with the mounting. Check out our ìhow to install a projectorî for the perfect mounting on the ceiling or wall.
?????
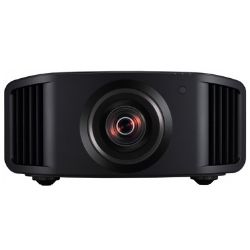
- TRUE 4K
- Fantastic HDR Handling
- Stunning Blacks
?????
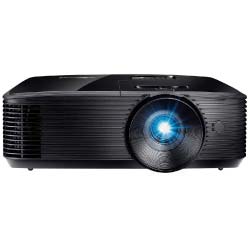
- Cinematic Performance
- Excellent Picture Quality
- 7.1 smart android system
Conclusion
Most people get panic when they see the pictures on the projector screen are not clear or blurry and start thinking that the projector is not working properly and it needs to be changed.
But in reality, Projectors needs your care by cleaning their lens regularly, focus, maintaining the distance, adjusting resolution, sharpness, and Frame rates.
With these steps, you can achieve the best quality videos and pictures coming out from your projector.
We hope that this brief information might help you to achieve your projector quality.


![How to Connect Apple TV to a Projector? – [Easy Steps]](https://glintylab.com/wp-content/uploads/2022/02/Flat-Projector-screens-768x384.jpg)
